- Entertainment & hobby
- Musical instruments
- Guitars
- Guitar accessories
- Native Instruments
- Guitar Rig Session
- User manual
5.3 Configuration. Native Instruments Guitar Rig Session
Add to My manuals47 Pages
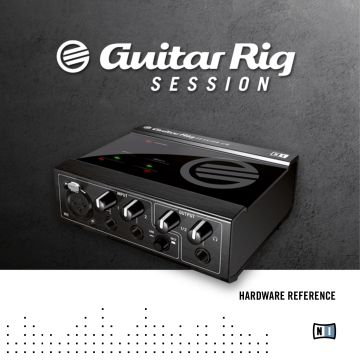
Native Instruments Guitar Rig Session is a comprehensive audio solution designed for guitarists, bassists, and songwriters, enabling seamless recording, editing, and production of music. It consists of the GUITAR RIG SESSION I/O, a compact audio interface, and the Essential version of GUITAR RIG 4, a renowned digital guitar studio software. With its versatile inputs, high-quality sound, and powerful software integration, the Guitar Rig Session empowers users to capture their musical ideas with ease and create professional-sounding tracks.
advertisement

The SESSION I/O is powered via USB. Operation is guaranteed only with a USB 2.0 controller as a single device or with self-powered USB 2.0 hubs.
After successfully installing the driver, the SESSION I/O should be recognized automatically.
If at any time the computer does not seem to recognize the SESSION I/O, disconnect the
USB cable, wait a few seconds, then re-connect it. If this does not solve the problem, restart your computer with the interface connected.
5.3 Configuration
This chapter explains how to use the SESSION I/O audio interface under Mac OS X and particularly with the included GUITAR RIG 4. It is assumed that you have already activated
GUITAR RIG 4 using the Service Center – please refer to the Setup Guide for help on this process.
5.3.1 Configuring GUITAR RIG 4
We will now set up GUITAR RIG 4 to use the SESSION I/O audio interface. Start the software before you proceed.
GUITAR RIG SESSION – 29
1.
When the software is started for the first time, you will be prompted with the Audio Setup window automatically, where you need to make the following settings. If you want to access these settings later, select GUITAR RIG 4 > Preferences from the program menu.
2.
On the Audio tab, choose CoreAudio as the “Driver” interface.
3.
Select SESSION I/O from the “Device” dropdown menu.
If SESSION I/O does not appear in the list even though it is connected, something went wrong.
Restart the installation as explained in section 5.1
.
The audio interface allows to be configured by the following parameters:
•
Sample Rate: Choose a sample rate that is compatible with your music application and suited to your computing power. Per default, the sample rate is set to 44100 Hz (CD-Quality). Higher sample rates may improve sound quality, but cause a higher CPU load as well.
•
Latency: Use the Latency slider to set the buffer size of the audio interface, measured in samples. The buffer size has two effects: The higher it is set, the lower is the probability of dropouts during real-time audio processing. On the other hand, the size of the buffer directly affects the overall latency of your system. The time between the moment you hit a
GUITAR RIG SESSION – 30
note and the moment you hear the processed sound will be longer if the buffer size is increased.
It is recommended that you start with the default buffer size and continue with the subsequent steps of the installation. Once you are finished, you should load a clean preset and revisit the Audio and MIDI Settings to achieve the best latency setting for your system. This is done by gradually reducing the buffer size: Drag the latency slider to the left while playing something. Once you begin to hear crackles or dropouts, carefully drag the latency slider to the right until you reach the point where no crackles or dropouts occur.
5.3.2 Using SESSION I/O as your Default Audio Interface
If you want to use the SESSION I/O for all audio playback (not only for music software), you have to set it as your default audio interface. For Mac OS X, this works as follows:
1.
From the Apple menu, select System Preferences.
2.
In the panel that opens, click on “Sound.”
GUITAR RIG SESSION – 31
advertisement
Related manuals
advertisement
Table of contents
- 6 1 Welcome to GUITAR RIG SESSION!
- 7 2 Before you Start – Important Notes
- 7 2.1 Serial Numbers & Nameplate
- 7 2.2 Using the Unit Safely
- 8 2.3 Disclaimer
- 10 3 The SESSION I/O Hardware
- 10 3.1 Front Panel
- 11 3.2 Top Panel
- 12 3.3 Rear Panel
- 13 4 Installation under Windows XP / Windows Vista
- 13 4.1 Software Installation
- 16 4.2 Hardware Installation
- 18 4.3 Configuration
- 23 4.4 Audio Connections and Levels
- 27 5 Installation under Mac OS X
- 27 5.1 Software Installation
- 28 5.2 Hardware Installation
- 29 5.3 Configuration
- 32 5.4 Audio Connections and Levels
- 37 6 Troubleshooting
- 38 6.1 Audio Issues
- 39 6.2 Hardware-Related Problems
- 42 7 Technical Specifications
- 42 Jacks and Sockets
- 42 7.2 Audio Specifications
- 46 7.3 Power Supply
- 46 7.4 Dimensions and Weight
- 46 7.5 Environmental Specifications
- 47 7.6 System Requirements