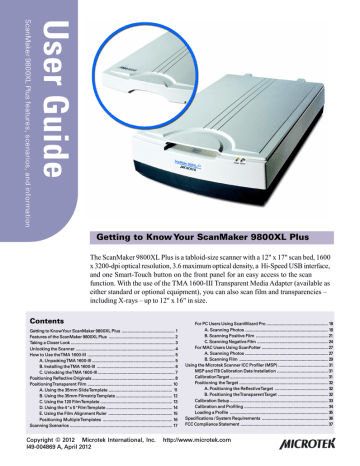
Calibration Setup. Microtek ScanMaker 9800XL Plus

Add to My manuals
37 Pages

advertisement

Calibration Setup. Microtek ScanMaker 9800XL Plus | Manualzz

A

B

Calibration Setup

With the target properly positioned on the scanner, turn on your scanner and let it warm up for about five minutes. Launch the MSP program; the MSP main window appears.

D

C

A. Choose the scanner model that you are calibrating.

B. Choose the correct target media. If you are calibrating the reflective target, select

Reflective. Otherwise, select Positive.

C. Select the date code and target type (or reference number) from the drop-down list that matches your target. You can verify this information by looking at the left corner of the target’s bottom margin.

If the desired data file is not present in the drop-down menu, install the IT8

Calibration Data to update the target profiles in your system.

D. When all the settings are done, click the Start (or Start Profiling) button. The calibration window will appear, and an initial preview of the target is performed.

ScanMaker 9800XL Plus User Guide 33

advertisement

Key Features

  • 12" x 17" scan bed for oversized originals
  • 1600 x 3200-dpi optical resolution
  • 3.6 maximum optical density
  • Smart-Touch button for easy scanning
  • Energy-saving LED light source
  • Microtek's ColoRescue system for color restoration
  • TMA 1600-III Transparent Media Adapter for scanning film and transparencies

Related manuals

Frequently Answers and Questions

What is the maximum scan size supported by the ScanMaker 9800XL Plus?
12" x 17"
What is the optical resolution of the scanner?
1600 x 3200 dpi
Does the scanner have a built-in film scanner?
Yes, with the use of the optional TMA 1600-III Transparent Media Adapter
What is the Smart-Touch button used for?
For quick and easy image capturing
Does the scanner have an energy-saving feature?
Yes, it uses an LED light source