Step 7: Perform Initial Software Configuration. Juniper Networks M7i
Add to my manuals23 Pages
Juniper M7i is a high-performance internet router designed for large networks and applications such as those supported by Internet service providers (ISPs). It offers a combination of ATM, channelized, Ethernet, IP services, and SONET/SDH interfaces, catering to diverse network requirements. The router's Application-Specific Integrated Circuits (ASICs) enable fast data forwarding at speeds demanded by modern network media.
advertisement

Step 7: Perform Initial Software Configuration
7.
8.
Verify that the OUPUT OK LED lights steadily. If the LED does not light after 60 seconds, repeat Steps 3 through 6. If necessary, reinstall the AC power cord or
DC power cables.
For routers with two power supplies, repeat Steps 3 through 7 for the second power supply.
Step 7: Perform Initial Software Configuration
This procedure connects the router to the network but does not enable it to forward traffic. For complete information about enabling the router to forward traffic, including examples, see the JUNOS Internet software configuration guides.
2.
3.
To configure the software, follow this procedure:
1.
Verify that the router is powered on as described in “Step 6: Power On the
Log in as the “root” user. There is no password.
Start the CLI.
root# cli root@>
4.
Enter configuration mode.
cli> configure
[edit] root@#
5.
Configure the name of the router. If the name includes spaces, enclose the name in quotation marks (“ ”).
[edit] root@# set system host-name host-name
6.
Configure the router's domain name.
[edit] root@# set system domain-name domain-name
7.
Configure the IP address and prefix length for the router's Ethernet interface.
[edit] root@# set interfaces fxp0 unit 0 family inet address address/prefix-length
8.
Configure the IP address of a backup router, which is used only while the routing protocol is not running.
[edit] root@# set system backup-router address
9.
Configure the IP address of a DNS server.
[edit]
Step 7: Perform Initial Software Configuration ■ 13
M7i Internet Router Quick Start root@# set system name-server address
10.
Set the root authentication password by entering either a clear-text password, an encrypted password, or an ssh public key string (DSA or RSA).
[edit] root@# set system root-authentication plain-text-password
New password: password
Retype new password: password or
[edit] root@# set system root-authentication encrypted-password encrypted-password or
[edit] root@# set system root-authentication ssh-dsa public-key or
[edit] root@# set system root-authentication ssh-rsa public-key
11.
Optionally, display the configuration to verify that it is correct.
[edit] root@# show system { host-name host-name; domain-name domain-name; backup-router address; root-authentication {
authentication-method (password | public-key);
} name-server {
}
address;
}
} interfaces {
} fxp0 { unit 0 {
} family inet { address address/prefix-length;
}
12.
Commit the configuration to activate it on the router.
[edit] root@# commit
14 ■ Step 7: Perform Initial Software Configuration
advertisement
* Your assessment is very important for improving the workof artificial intelligence, which forms the content of this project
Related manuals
advertisement
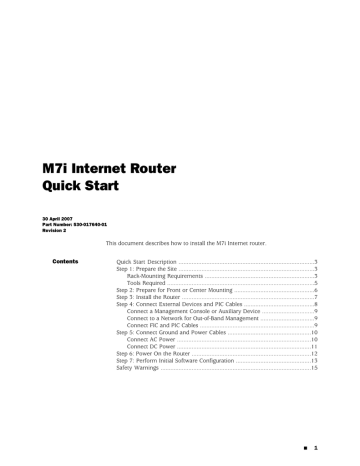
Table of contents
- 1 Contents
- 3 Quick Start Description
- 3 Step 1: Prepare the Site
- 3 Rack-Mounting Requirements
- 5 Tools Required
- 6 Step 2: Prepare for Front or Center Mounting
- 7 Step 3: Install the Router
- 8 Step 4: Connect External Devices and PIC Cables
- 9 Connect a Management Console or Auxiliary Device
- 9 Connect to a Network for Out-of-Band Management
- 9 Connect FIC and PIC Cables
- 10 Step 5: Connect Ground and Power Cables
- 10 Connect AC Power
- 11 Connect DC Power
- 12 Step 6: Power On the Router
- 13 Step 7: Perform Initial Software Configuration
- 15 Safety Warnings
- 17 Compliance Statements for NEBS
- 17 Compliance Statements for EMC Requirements
- 17 Canada
- 17 European Union
- 18 Declaration of Conformity
- 19 List of Technical Publications
- 23 Requesting Support