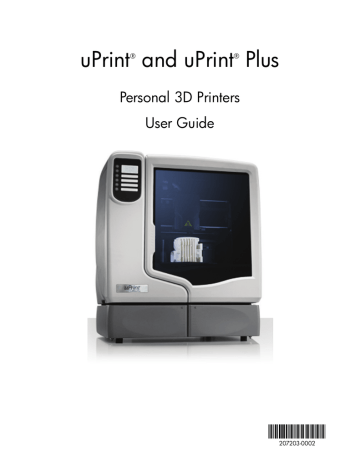
Replacing material for dual material bays. Stratasys uPrint, uPrint Plus, UPRINT SE PLUS, UPRINT SE
Add to My manuals74 Pages
advertisement
▼
Scroll to page 2
of
74
advertisement
Key Features
- Fast and accurate printing
- Versatile material options
- User-friendly software
- Compact and portable
- Automatic material loading and unloading
- Built-in camera for remote monitoring
- Wi-Fi and Ethernet connectivity for easy network integration
- Touchscreen display for intuitive operation
- Extensive library of pre-designed models and templates
- Regular firmware updates with new features and improvements
Questions & Answers
2024-06-14
Z Z F
How do I set the network IP address of my uPrint/uPrint Plus printer?
1. Obtain your static network address from your Network Administrator.
2. Press Maintenance on the display panel, then System, then Set Network.
3. Enter the IP address, default gateway, and subnet mask.
4. After setting the final digit of the IP address, move the cursor one more place to the right and set the Netmask (NM) and Gateway (GW) addresses.
5. Press Done, then Yes to confirm the changes and reset the network.
Related manuals
Frequently Answers and Questions
How do I connect my uPrint to a computer?
You can connect your uPrint to a computer using a USB cable or over a Wi-Fi network.
What materials can I use with my uPrint?
uPrint supports a wide range of materials, including ABSplus, PLA, and PETG.
How do I clean and maintain my uPrint?
Regular cleaning and maintenance are important to keep your uPrint running smoothly. For daily maintenance, simply wipe down the exterior of the printer with a clean cloth. For more thorough cleaning, refer to the user manual for instructions.
Can I print multiple objects at the same time?
Yes, uPrint supports multi-part printing, allowing you to print multiple objects simultaneously.
What is the maximum size of object I can print with my uPrint?
The maximum build volume of uPrint is 203 x 152 x 152 mm (8 x 6 x 6 inches).
advertisement


