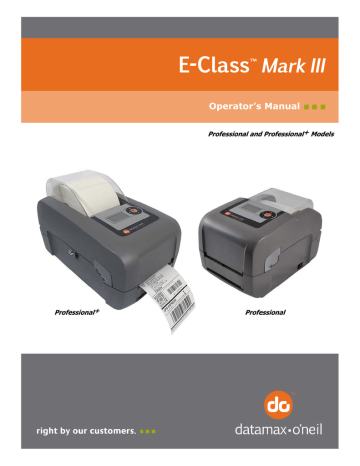
Wireless Setup – Infrastructure. Datamax Mark III E-4206L, E-4206L, Mark III E-4305L, Mark III E-4206P, E-4305A, E-Class Mark III Professional+, E-4206P, E-Class Mark III, Mark III E-4305P

Add to My manuals
92 Pages

advertisement

Wireless Setup – Infrastructure. Datamax Mark III E-4206L, E-4206L, Mark III E-4305L, Mark III E-4206P, E-4305A, E-Class Mark III Professional+, E-4206P, E-Class Mark III, Mark III E-4305P | Manualzz

B.2.1 Wireless Setup – Infrastructure

After a successful setup is made via a wired connection, the Wireless connection (if equipped) can now be configured in infrastructure mode using a static or DHCP issued IP address.

1. Open your web browser. Type in the IP

Address of the printer. The Default IP is:

192.168.10.26.

If a different IP Address has been assigned to the printer, make sure to enter the correct IP address.

A page similar to the right will appear:

2. Click on the “Wireless Ethernet Settings” menu item on the left side of the screen. Locate and set the following items:

 In the “Acquire Address Method” section, select the “Use DHCP” radio button.

For static IP setup:

 In the “Acquire Address Method” section, select the “Use Static Addresses” radio button.

 In the “Static IP Addresses” section, enter valid static IP addresses for Printer IP Address,

Printer Subnet Mask, and Printer Gateway.

3. Scroll down the page to “Network Type”, select “infrastructure” from the drop down box.

4. In the SSID field type the name of the SSID of your access point.

5. Under the “WIFI Security and Authentication”, set any security/authentication settings necessary for your network.

6. Scroll down to the bottom of the page, enter the password (default is “sysadm”) and click Apply.

7. Click on the “General Network Settings” menu item on the left side of the screen. Locate and set the following items:

8. In the “Network Interface”, select the “Wireless Ethernet” radio button

9. Scroll down to the bottom of the page, enter the password (default is “sysadm”) and click Apply.

10. Click on the “Restore Defaults/Restart” menu item on the left side of the screen. Be sure that Restart

Printer is displayed in the “Action to Execute:” drop down box. Enter the password at the top of the page (default is “sysadm”) and click Execute to restart the printer.

Appendix B – WLAN & LAN Setup 73

advertisement

Key Features

  • High print speeds of up to 12 ips
  • Durable construction for demanding environments
  • Variety of connectivity options, including Ethernet, USB, and serial
  • Large paper capacity for extended printing runs
  • Advanced print quality with 300 dpi resolution
  • Easy-to-use LCD display for quick setup and configuration
  • Compact design for space-saving installation

Related manuals

Frequently Answers and Questions

What is the maximum print speed of the Mark III E-4206P?
The maximum print speed is 12 inches per second (ips).
Does the Mark III E-4206P support wireless connectivity?
No, the Mark III E-4206P does not support wireless connectivity.
What is the paper capacity of the Mark III E-4206P?
The paper capacity is 12 inches in diameter.
What is the print resolution of the Mark III E-4206P?
The print resolution is 300 dots per inch (dpi).