Connect. Crestron UC-C100-T
Show HTML Add to My manuals9 Pages
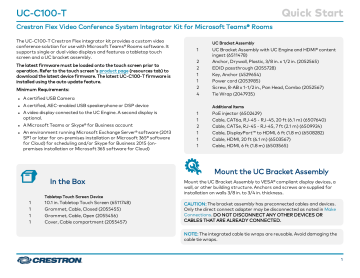
Crestron UC-C100-T is a video conference system integrator kit for Microsoft Teams® Rooms, supporting single or dual video displays, and featuring a tabletop touch screen. It provides a custom video conferencing solution with flexible connectivity options, allowing for direct or network connection to the UC Engine. With a certified USB camera and speakerphone, you can enjoy high-quality audio and video during your meetings. The kit includes an HDMI content ingest device for connecting a laptop, and all necessary cables for a complete setup.
advertisement

UC-C100-T
Crestron Flex Video Conference System Integrator Kit for Microsoft Teams® Rooms
Quick Start
Connect
System Overview
When connections are complete, the system appears as shown below. Refer to
for detailed connection instructions.
2
UC-C100-T Quick Start
Crestron Flex Video Conference System Integrator Kit for Microsoft Teams® Rooms
Make Connections
1. Make UC Engine connections as shown in the following illustrations. The touch screen can communicate with the UC Engine over a direct connection or a network connection. Select one of the connection types as described below.
a. Make a direct connection for simple installation and setup. Only use the direct connect adapter to connect the touch screen's PoE injector to the UC Engine. Do not use the direct connect adapter to connect the UC Engine to the network.
Direct Connection
3
UC-C100-T
Crestron Flex Video Conference System Integrator Kit for Microsoft Teams® Rooms b. Make a network connection if the system is to be managed by the XiO Cloud® service.
NOTE: When a network connection is used, disconnect the direct connect adapter from the UC Engine.
Network Connection
Quick Start
4
UC-C100-T
Crestron Flex Video Conference System Integrator Kit for Microsoft Teams® Rooms
Quick Start
2. Connect a USB audio source (not included) and displays to the UC Engine. Connect the EDID passthroughs to the displays.
5
UC-C100-T
Crestron Flex Video Conference System Integrator Kit for Microsoft Teams® Rooms
Quick Start
3. Remove the screw from the connector cover (located below the UC Engine) using a Philips #1 screwdriver (not included). Open the connector cover and retain the screw.
4. Connect a camera (not included) to the UC Engine as shown in the image below. Do not connect the camera to any of the other USB ports.
6
UC-C100-T
Crestron Flex Video Conference System Integrator Kit for Microsoft Teams® Rooms
5. Reattach the connector cover using the screw removed in step 3.
6. Connect a laptop to the content ingest device (HD-CONV-USB-200).
Quick Start
7. Bundle the cables to the bracket assembly with the integrated cable tie wraps. The cable tie wraps are reusable.
7
advertisement