Product Diagram. RCA RCU1010RF


Add to My manuals
78 Pages

advertisement

Product Diagram. RCA RCU1010RF | Manualzz

RCU_1010_RF_IB_RevA.qxd 9/24/03 10:30 AM Page 7

RCU1010RF

LEARN

key

Liquid Crystal

Display (LCD)

LED indicator light

MACRO

Key

BACKLIGHT

key

Quick Access keys

SETUP

key

LCD Touchscreen

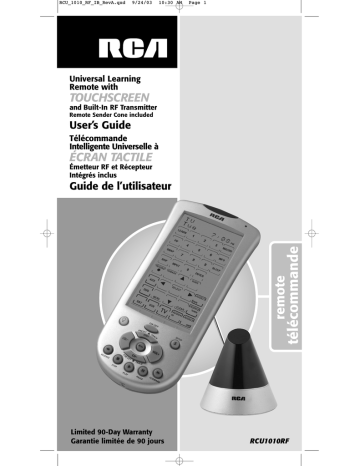
The LCD (Liquid Crystal Display) touchscreen on your RCU1010RF acts as a “virtual keypad.”

This touchscreen makes it easy to program and use your remote with many components. For the purposes of this guide, “component” refers to your electronic equipment—TV, VCR, DVD, SAT,

PVR/DVR, CBL/AUX, CD and AUDIO equipment—all of which can be operated using the

RCU1010RF remote control unit. When you press and release a component key on the LCD touchscreen, you put the remote in that mode (e.g., pressing the TV key puts the remote in the TV

Mode), and it remains in that mode until you press and release another mode key. When you put the remote in a specific component mode, the control screen for that mode is shown on the touchscreen.

For example, if you put the remote in TV Mode, the control screen you see on the touchscreen is the TV Mode control screen. Each LCD touchscreen has a maximum of 40 keys.

The LCD touchscreen remains blank when the remote is not in use. The LCD touchscreen turns on automatically when you press and release the SETUP key, the BACKLIGHT key, or any LCD touchscreen key. The remaining rubber keys do not activate the LCD touchscreen

LED Indicator Light

The LED (Light Emitting Diode) indicator light, located at the upper right-hand side of the

RCU1010RF unit, lights up whenever a rubber key or any LCD touchscreen key is pressed. The LED indicator flashes and beeps three times (approximately two seconds) to indicate any error condition.

Setup Routine and Procedures

The SETUP key is located towards the lower right-hand side of the remote. The SETUP key is used to walk you through the steps in setting up the remote. To enter the Setup Mode, press and hold the SETUP key on the rubber keypad for 2-3 seconds until the LED indicator light remains on.

Successive presses of the SETUP key walk you through all the available Setup routines.

7

advertisement

Key Features

  • Universal remote control with touchscreen
  • Built-in RF transmitter for long range control
  • Remote sender cone for controlling devices out of sight
  • IR extender for controlling devices in hard-to-reach places
  • Easy-to-navigate touchscreen menu
  • 90-day limited warranty

Related manuals

Frequently Answers and Questions

How do I set up the remote sender cone?
Plug the remote sender cone into an electrical outlet and then connect the other end to the back of the RCU1010RF.
How do I set up the IR extender?
Plug the IR extender into an electrical outlet and then connect the other end to the back of the RCU1010RF.
How do I install the batteries?
Open the battery compartment on the back of the RCU1010RF and insert two AA batteries.
How do I use the touchscreen menu?
Touch the screen to select the desired function.
How do I control devices from another room?
Use the built-in RF transmitter to control devices from anywhere in the room, even if there are obstacles in the way.
Download PDF

advertisement