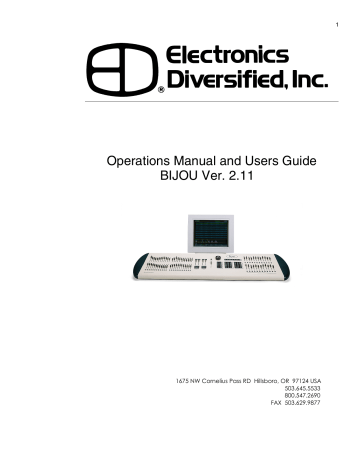
Figure 3 Front Panel. Electronics Diversified BIJOU 2.11, BIJOU Ver. 2.11
Add to My manuals51 Pages
advertisement

Figure 3 Front Panel push it to the ‘On’ position. This should light two blue LED’s dotting the ‘I & J’ in the name Bijou on the front of the console and the console should boot up with the “STAGE” screen on the display ready for operation.
9
The Bijou is a microprocessor-based control system with all operational instruction sets and control routines embedded in read-only memory. The control console front panel allows access to these instructions and routines through key selections. All key selections are echoed on the system command line located at the bottom left of your monitor.
The Bijou is available as a “Memory Operation” only board or as a combination “Manual” (2 Scene/1 Scene) and
“Memory” board. If your board has 2 Scene/1 Scene capabilities you will find two rows of sliders arranged in groupings of 24, 48 or 72 to the left or above the XY cross faders. Operation of this fader will be discussed in the chapter on Manual Operation.
NOTE: In all discussions of operation key caps will be represented in [ ] so the term [Stage] equals the control console key with “Stage silk” screened on it.
On all configurations of the Bijou will find the following front panel controls:
1. CROSS FADER SECTION
Location of XY and AB cross faders, [Load], [Fade Take],
[Go], [Stop/Rev], Grand Master Fader and Blackout
Switch.
2. CONTROL KEYS
Select active display screens for monitor. Access channels and level information. Organize recording, playback and editing sequences. Start and stop automated features.
3. ENCODER WHEEL
Adjusts selected channel levels proportionally.
4. SUBMASTER/EFFECTS FADERS
Controls a manual and timed submaster & effect function via fade handles or associated bump buttons.
5. DISK DRIVE (located on right side)
Off-line storage of recorded information.
On 2 Scene Preset versions of the Bijou you will find:
6. CHANNEL/FADERS (located on the left in two rows)
Used to set channel output levels in 2 Scene and 1 Scene manual operation.
7. BUMP BUTTONS (located in a row below the
Channel/faders) Drive the associated Channel output instantly to 100% when pressed returns to 0% when released.
advertisement
Related manuals
advertisement
Table of contents
- 5 Figure 1 Bijou
- 7 figure 2 Bijou Rear Panel
- 9 Figure 3 Front Panel
- 10 Figure 4 Screen Keys
- 11 Figure 5 Action Keys
- 13 Figure 6 Number Keys
- 13 Figure 7 XY & AB Fader Control Keys
- 14 Figure 8 Default Setting 1 Screen
- 15 Figure 9 Default Menu
- 15 Figure 10 Default Setting 2 Screen
- 16 Figure 11 Default Setting 2 menu
- 16 Figure 12 Clear Menu
- 17 Figure 13 Save Menu
- 17 Figure 14 Load Menu
- 18 Figure 14 Print Menu
- 18 Figure 15 MISC Menu
- 19 Figure 16 Bijou disk drive
- 20 Figure 17 Patch Screen
- 21 Figure 18 Patch at level, profile, ND, and park
- 23 Figure 19 Profile Screen
- 24 Figure 20 Stage Screen
- 25 Figure 21 Help Window
- 25 Figure 22 Cross Fader, Submaster Output Display
- 25 Figure 23 XY Cross-Fader in Manual Mode
- 26 Figure 24 Channels/faders
- 31 Figure 25 Cue List Screen
- 34 Figure 26 Stage Screen (Rem Dim)
- 34 Figure 27 Cue List with different Cue types
- 35 Figure 28 Stage Screen with Multi-Part Cue loaded
- 38 Figure 29 Cue Preview Screen
- 39 Figure 30 Cue List Screen
- 40 Figure 31 Track Screen
- 40 Figure 32 Bijou Submasters
- 41 Figure 33 Sub Preview Screen
- 44 Figure 34 Timed NORM Sub W/Hold
- 46 Figure 35 Effect Screen
- 48 Figure 36 Macro Screen
- 49 Figure 37 Recording MACRO in Stage Screen
